
Security settings that are on by default on at least some installations of Windows 11 and Windows 10 can reduce performance by up to 15%. Virtualization-based security (aka VBS) allows Windows to create secure memory enclaves that are isolated from unsafe code. Another built-in feature called Hypervisor-Enforced Code Integrity (HVCI) uses the power of VBS to prevent unsigned or questionable drivers and software from intruding into memory. Combining VBS and HVCI provides an extra layer of protection that limits the damage malware can do, even if it gets through antivirus software.
Unfortunately, VBS and HVCI come at a significant performance cost, especially when it comes to gaming. In our tests, we found the game ran as much as 15% slower with these settings on and off. This is true whether you have an older graphics card or a faster RTX 4090. In the past, sometimes just upgrading from Windows 10 to 11 didn’t enable VBS, but recently I’ve found that it does after the update. So don’t assume it’s disabled on your system if you had it turned off before.
For most users and applications, the performance delta with VBS on or off is 5% or less, which is barely noticeable for everyday tasks such as web browsing and document editing. However, if you want the best possible performance and are willing to sacrifice an extra layer of security, here’s how to disable VBS in Windows 11 or 10.
How to check if VBS is enabled in Windows 11 or 10
Before considering turning VBS off, you should first check if VBS is on.
1. Open system informationThe easiest way to do this is to search for “system information” in Windows Search and click the top result.
2. Scroll down and find the “Virtualization Based Security” line. If it says “Running”, VBS is enabled. However, if it says “Not Enabled”, you are done.

How to disable VBS/HVCI in Windows 11 or 10
1. Find core isolation in Windows search Click on top result.

2. Toggle memory integrity off, if on. If not, go to step 6.

3. restart your pc Follow prompts.

Four. Check system information Check again if Virtualization Based Security shows as “Not Enabled”. If so, you are done. If not, go to step 6 and in the registry he disables VBS.

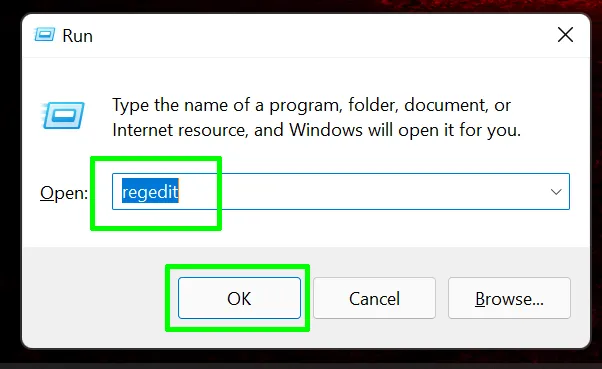
Five. open registry editThe easiest way is to press Windows + R, type regedit in the text box and press[OK]is to click
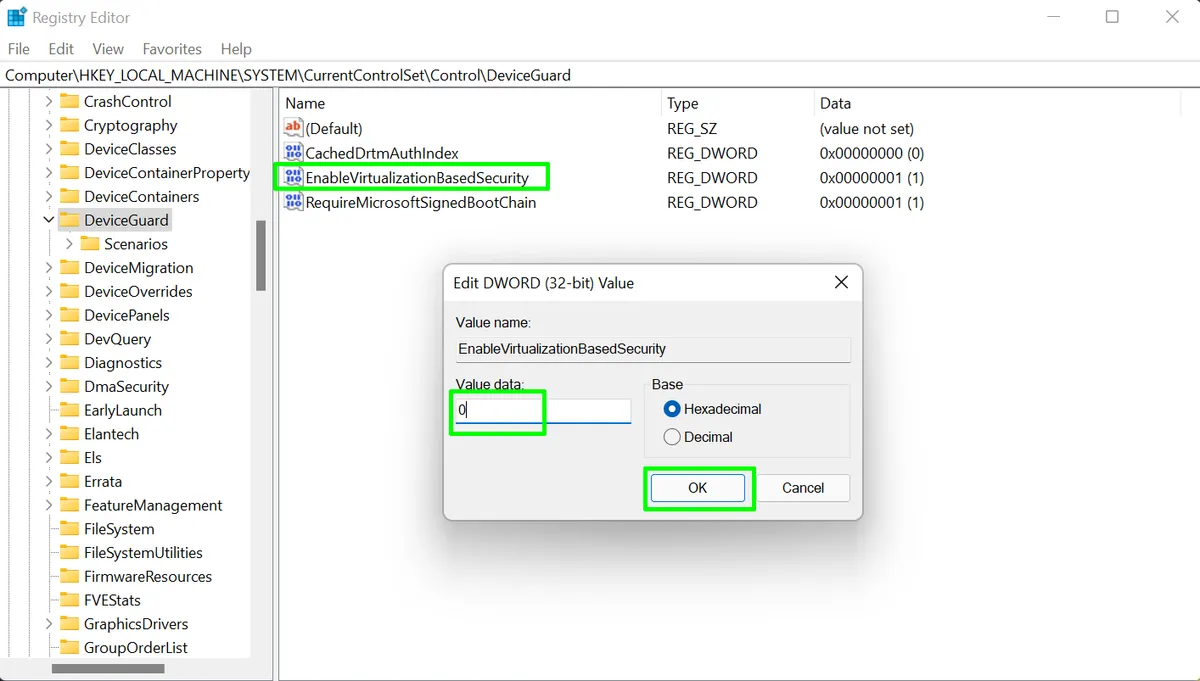
6. Go to HKEY_LOCAL_MACHINE\System\CurrentControlSet\Control\DeviceGuard.

7. Open EnableVirtualizationBasedSecurity and Set to 0.
8. Close Registry Edit and restart your pc.
9. Check system information again Check if Virtualization Based Security is listed as “not enabled”.

If VBS is still enabled, try the method below to disable it.
How to uninstall a virtual machine and disable Windows VBS
If VBS is still running, you can get rid of it by uninstalling the Windows “Virtual Machine” feature. Note, however, that if this is the feature that enabled VBS, losing it may prevent you from running the Windows Subsystem for Linux. Method is as follows.
1. [Windows の機能の有効化または無効化]open by looking for it.

2. Uncheck Virtual Machine and [OK]Click.

3. reboot your computer.
Four. Check system information Make sure Virtualization Based Security is listed as ‘Disabled’.


