
By default, you must have (or create) a Microsoft account to install Windows 11 Home (and build 22H2 and later versions of Pro). Microsoft accounts are free, but there are many reasons to install Windows 11 without an account.
You may want to use a local account because you have Windows 11 installed on your child’s PC or on a PC that you plan to sell, donate to friends, or donate to a charity. Obviously, you wouldn’t want someone else to have a computer with your account. Or maybe you like privacy and don’t want to create an account with Microsoft in the first place.
Whatever the reason, there is an easy way to install Windows 11 without using a Microsoft account.
How to install Windows 11 without a Microsoft account
There is a simple trick to use a local account that works with the current build of Windows and you need to disconnect the internet at the right time during the setup process. However, future builds (currently in preview) 22H2 are wise to this trick and will block, so you will need to reconnect to the internet before continuing. If you are using Windows 11 22H2, you will need to use Rufus to prepare the installation discs. This process is described later on this page.
If you have already downloaded and created a Windows 11 boot disk using something like Rufus, follow these steps to set it up without a Microsoft account.
1.1. Follow the Windows 11 installation process until you see the login screen. You will be prompted to sign in or create a Microsoft account.
Now is the time to shut down the internet. If you have a physical connection, you can always unplug it, but it’s easier to use a command to turn off the internet on your PC until the next reboot. This is done as part of the setup process anyway.
2.2. Press Shift + F10.. A command prompt is displayed.
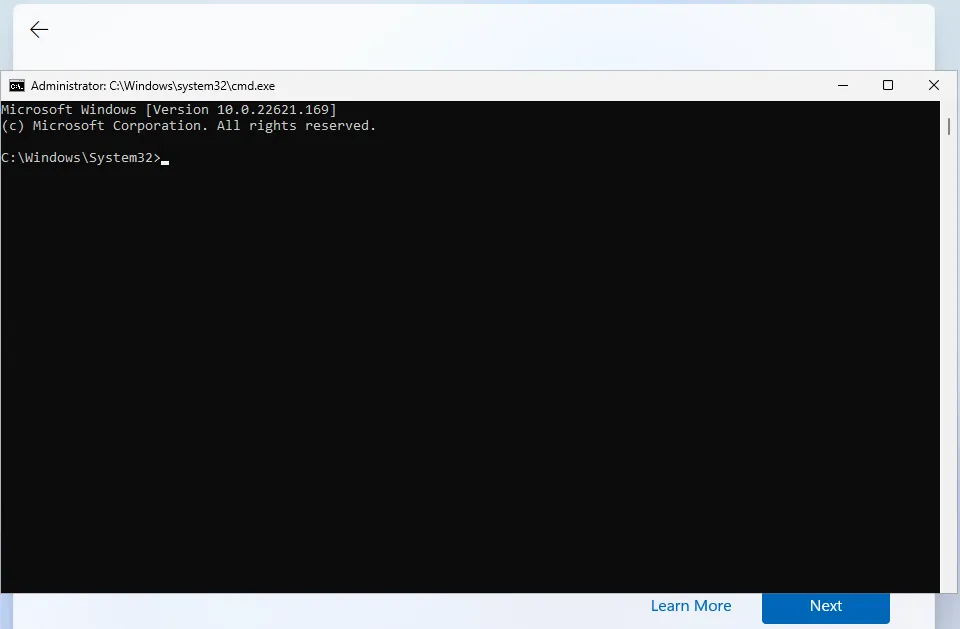
3.3. type ipconfig / release When Press Enter Disable the internet.

4.4. Close command prompt..
5.5. Click the back arrow Located in the upper left corner of the screen.

You will see a new login screen that says “Who will use this device?”
6.6. Enter user name I want to use it for a local account [次へ]Click..
![Enter a name[次へ]Click](https://cdn.mos.cms.futurecdn.net/aMtguejy8dFV3VSJgeUsgE-1200-80.png.webp)
7. Enter the password I want to use [次へ]Click.. You can leave this field blank and not set a password, but this is not recommended.

8.8. Complete the rest of the installation process As usual.
Install Windows 11 with a local account using the “no thank you” method
Another way that works with Windows 22 H2 is that you obviously have to enter an email address that is used many times to confuse Windows. This worked for us, but Microsoft could be wise with it.
1.1. Please enter no@thankyou.com As an email address [次へ]Click When Windows 11 setup asks you to log in to your Microsoft account.

2.2. Enter any text in the password field When [サインイン]Click..
![Enter your password[サインイン]Click](https://cdn.mos.cms.futurecdn.net/BFwkbhDVCxJFKEkgXdmpGU-1200-80.png.webp)
If this method is a word, you will get the message “Oops, something went wrong”.
3.3. [次へ]Click.
![[次へ]Click](https://cdn.mos.cms.futurecdn.net/vqgKLETdXHtC5Wan9WEQVh-1200-80.png.webp)
The screen “Who will use this device?” Is displayed. This is the screen for creating a local account.
4.4. Please enter your username I want to use it.
![Enter a name[次へ]Click](https://cdn.mos.cms.futurecdn.net/Yu7WhV9jmfDFwodUDEJM67-1200-80.png.webp)
5.5. Enter the password When [次へ]Click.. You can leave the field blank, but we don’t recommend it.

How to create a Windows 11 installation disc that allows you to bypass your Microsoft account
If you are installing Windows 11 22H2 or later, you must use Rufus (or any other method) to create an installation disc and turn off the Internet during the setup process so that you can continue with your local account. Otherwise, when you perform the above steps, you will see the message “Oops, your internet connection has been lost” and you will be prompted to come back online to continue the installation.

This section describes how to create a Windows 11 installation disc that can be disconnected from the Internet during setup so that you can create a local account instead of using a Microsoft account.
1.1. Download the Windows 11 ISO file For Windows 11 22H2 (build 22621.169 or later). At the time of writing this article, you can only get the ISO for that build directly using. UUP dump (Opens in a new tab).. The article How to bring down a Windows 11 ISO file describes how to perform this process.
2.2. Insert the USB flash drive If the installation disc is not already inserted, use it as the installation disc. Please note that this drive will be completely erased during the process and should be at least 8GB. If you just want to install Windows on a virtual machine, you can create an ISO file instead of writing it directly to a flash drive, but I’m assuming you haven’t done that yet.
3.3. Download and launch Rufus Version 3.19 or later. There is no installation process, but Windows User Account Control may ask you to confirm permissions.
4.4. Select a USB drive From the Rufus menu, if it’s not already selected.
![[選択]Click](https://cdn.mos.cms.futurecdn.net/Bp8UJmtsityY8EbJ7d2Yr9-1200-80.jpg.webp)
5.5. [選択]Click When Select an ISO file..
6.6. [開始]Click Located at the bottom of the Rufus window.
![[開始]Click](https://cdn.mos.cms.futurecdn.net/wbZbRmVNUGVPQj2eejTGEZ-1200-80.jpg.webp)
A dialog box appears with some options for bypassing Windows 11 installation requirements.
7. [オンラインMicrosoftアカウントの要件を削除する]To switch on When [OK]Click. You can also turn on other options such as Secure Boot / TPM 2.0, RAM, and removal of storage requirements. But if your computer meets those requirements, it doesn’t cost much to do it.

8.8. [OK]Click If Rufus is warned to destroy all data on a USB flash drive. It is expected to overwrite all the contents of the drive.
![[OK]Click](https://cdn.mos.cms.futurecdn.net/fnnLMiBJZWKDtBGvEDLHgN-1200-80.jpg.webp)
Rufus takes a few minutes to copy the files to a USB flash drive. When complete, you have a bootable flash drive.


