How to Take Screenshots in Windows 10 or Windows 11

There are many reasons why you need to capture screenshots in Windows 10 or 11. You may need to show a colleague or friend how to use the application. Perhaps you want to capture an excerpt from a web page, highlight the relevant parts, and share it on social media. Or maybe one of the programs is jammed with images and can’t be exported the other way.
Whatever the reason, there are many ways to take screenshots in Windows. Which method you choose depends on what you need to capture and how you want to share it. Below I will show you how to capture a screenshot that captures the entire desktop or a specific part of the desktop, such as an entire web page or a frame of a YouTube video. If you need to capture video, see our tutorial on how to screen recordings in Windows.
The Print Screen key will capture the screenshot to your clipboard
The easiest way to take a screenshot in Windows 11 or 10 is to just press the Print Screen key (sometimes abbreviated as PrtSc or Print Scrn) and the entire desktop will be copied to your clipboard. The Print Screen method is straightforward, but a little tricky.
If you’re using multiple monitors, combine all your desktops into one giant image. If you save the image as a file, you’ll need to paste it into an image editor such as Microsoft Paint, GIMP, or Photoshop. .
Save file with Windows key + Print Screen
If you want to take a screenshot of the entire screen, save it as a file and move on. The easiest way is Windows key + Print ScreenThe entire desktop will momentarily darken to indicate that a screenshot has been captured, and a new PNG file will be saved in the Pictures/Screenshots folder. Each file is named Screenshot (#).png, where # is replaced with 1, 2, 3, etc.
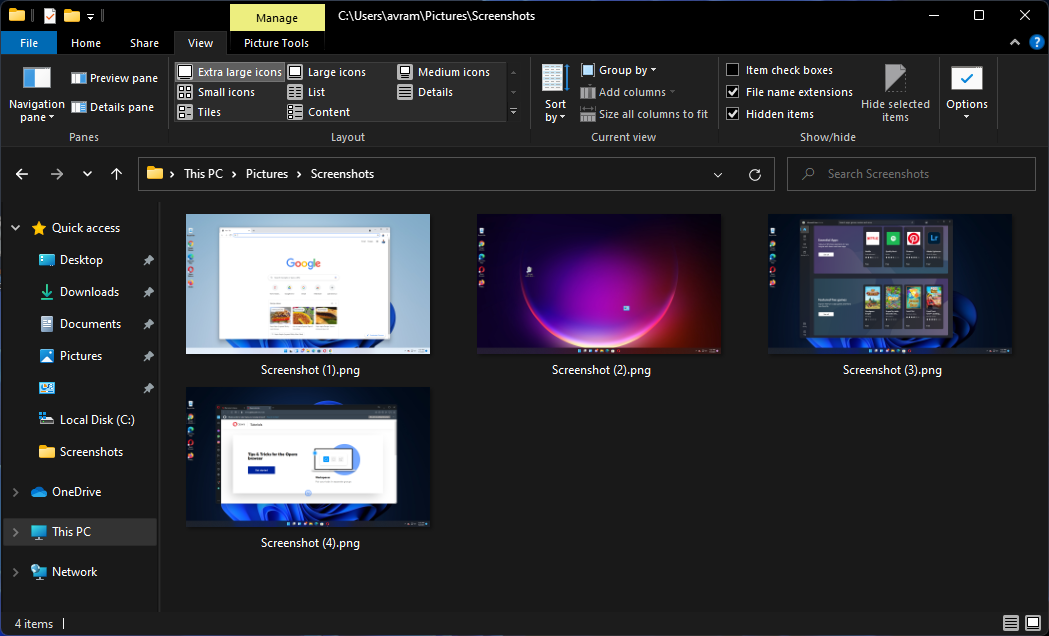
Alt + Print Screen capture active window to clipboard
Rather than screenshot your entire desktop, you often want to screenshot just the relevant programs you’re using. Press Alt + PrtScr and Windows 10 or 11 will capture only the active window and copy it to the clipboard.
It’s important to note that if your app has multiple windows, this is a screenshot of the active window only, not the entire app. So, for example, if your program has a popup menu that appears in a child window, only the child window is captured, not the parent window behind it.
Snipping Tool captures regions
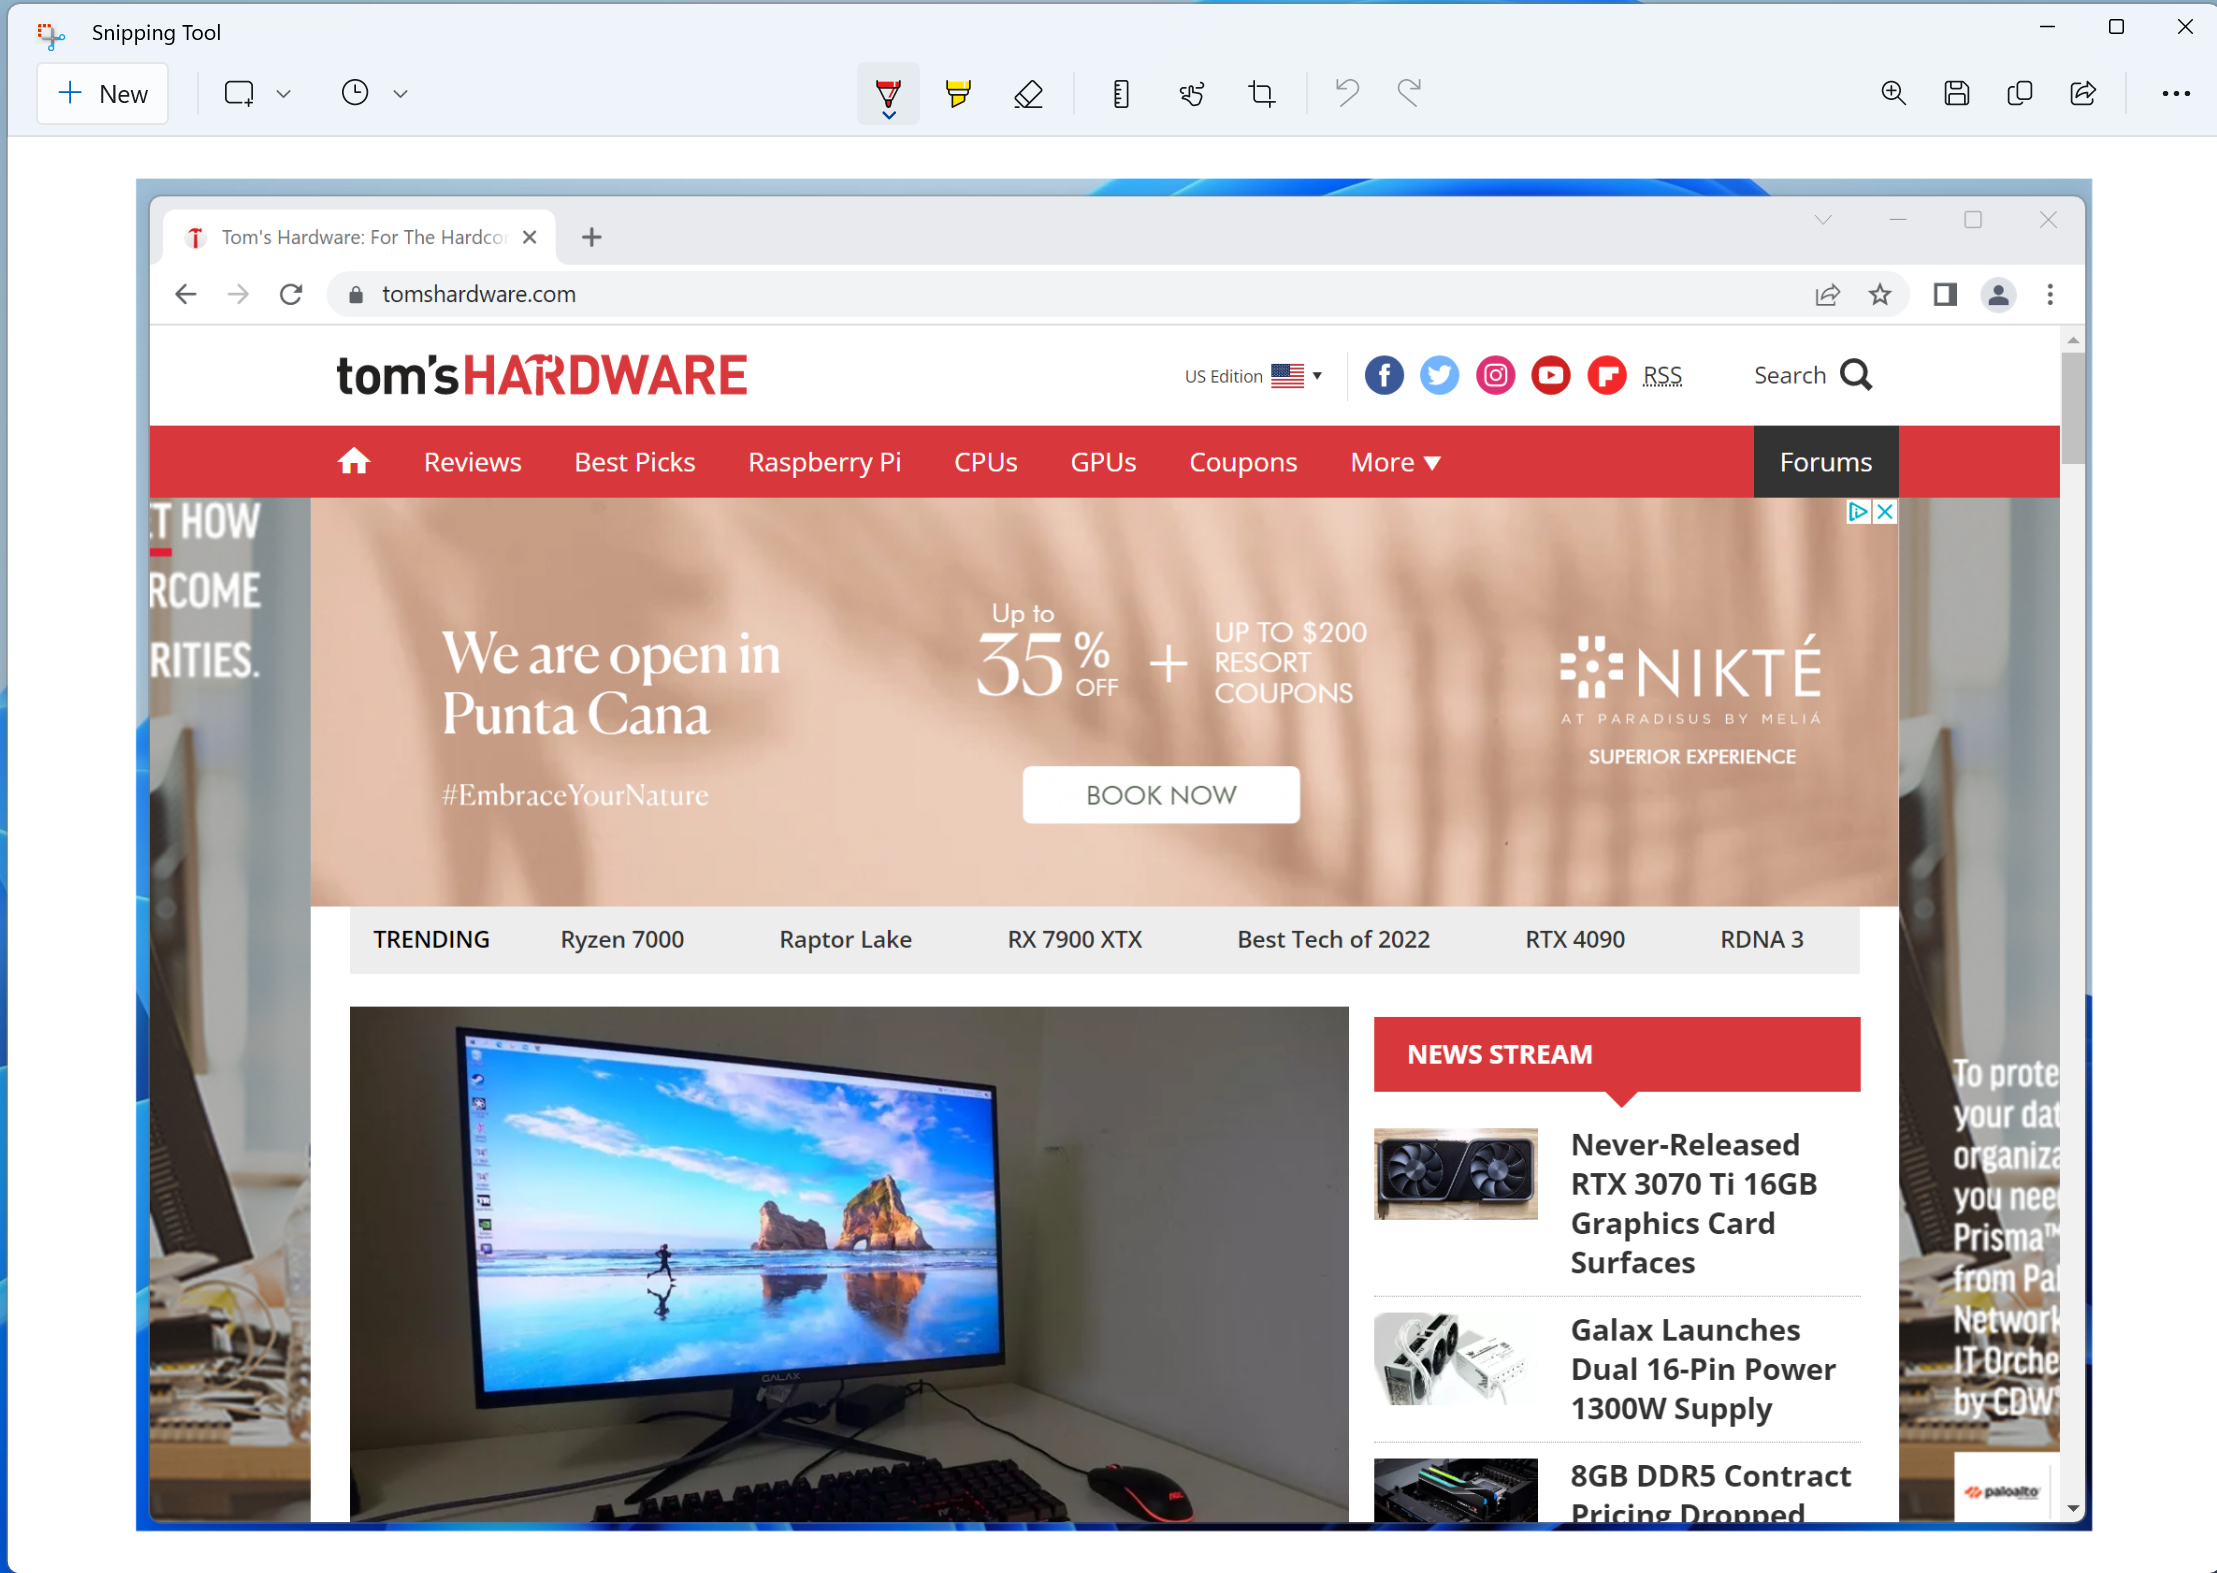
Perhaps you want to take a Windows screenshot that shows just a small portion of your desktop. It could be part of her web page or series of windows in your browser.hit anyway Windows key + Shift + S The Windows Snipping Tool will launch and immediately present a rectangular box in which you can draw whatever you want to capture from Windows 10 or Windows 11.
Here, in Windows 11 the built-in screenshot tool is called “Snipping Tool”, in Windows 10 we have both Snipping Tool and Snip & Sketch Tool, the latter being a new tool provided by Microsoft. It is recommended. Whatever you call them, the keyboard shortcuts will get you right.
If you don’t want to take a screenshot of a rectangular portion of your Windows desktop, you can also choose to freeform sketch the shape or capture the active window or full screen. The image will be captured to your clipboard, but you will also see a Windows notification indicating what you have captured. Click to open an editor where you can draw, crop, or highlight over your screenshot. A section of it with a highlighter.
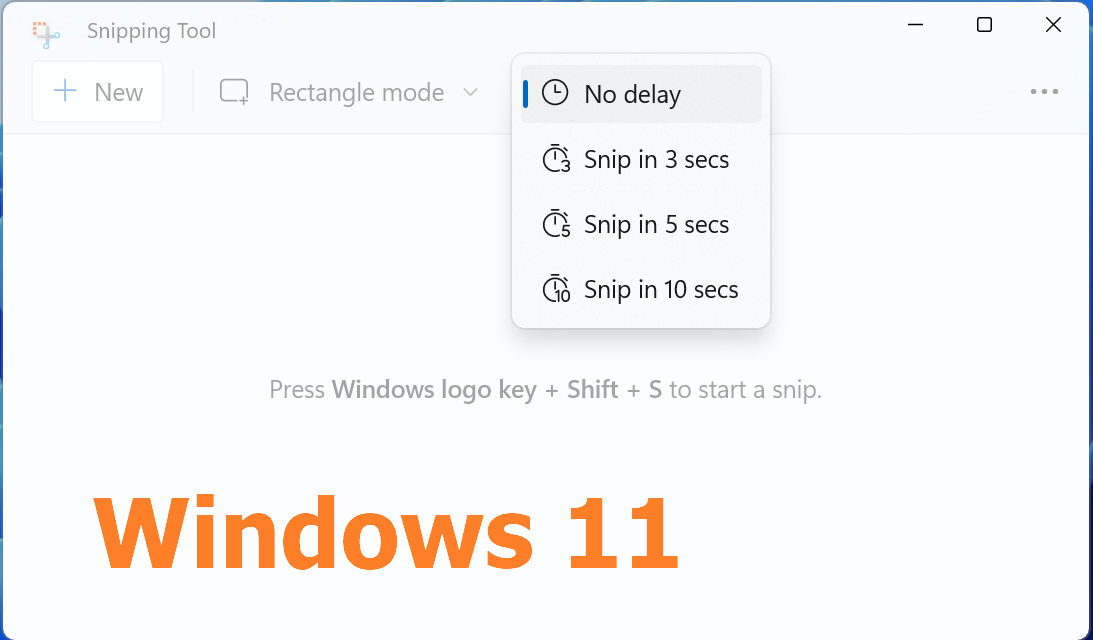
Delayed screenshot with Snipping Tool
Sometimes you need to take a screenshot of Windows in a few seconds instead of now. why wait? If you need to take a screenshot of yourself activating a pull-down menu or other item, pressing the Print Screen key or another key combination could cause the menu to disappear before the OS takes the picture. I have. So I would like to have time to activate the screenshots that occur in the future and access that menu.
To create delayed screenshots in Windows 10 or 11, Launch Snipping Tool (Windows 11) or Snip & Sketch (Windows 10), instead of keyboard shortcuts, search or[スタート]from the menu.So Select delay time from either delay menu (Windows 11) or new menu (Widows 10).
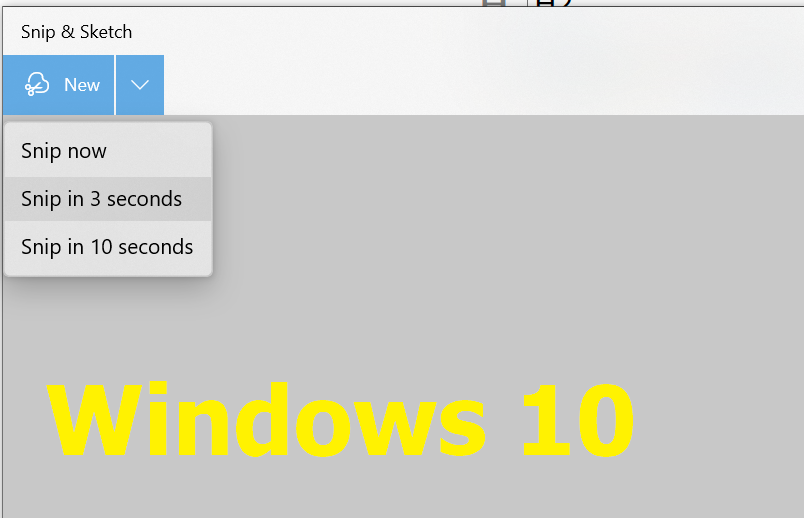
If you do something you want to capture within that timeframe, the crop tool will appear and you can draw a box around it.
Capture complete web pages
There are times when you want to capture an entire web page as a screenshot. Even if you’re running a 4K monitor at 100% scaling, most web pages are taller than your display. So you need a Windows screenshot tool that can scroll down and capture even the parts of the web page that are “behind the scenes”.
The easiest and cheapest way to capture an entire web page is to use a browser that has a built-in full page screenshot feature or a plugin/extension that allows it.
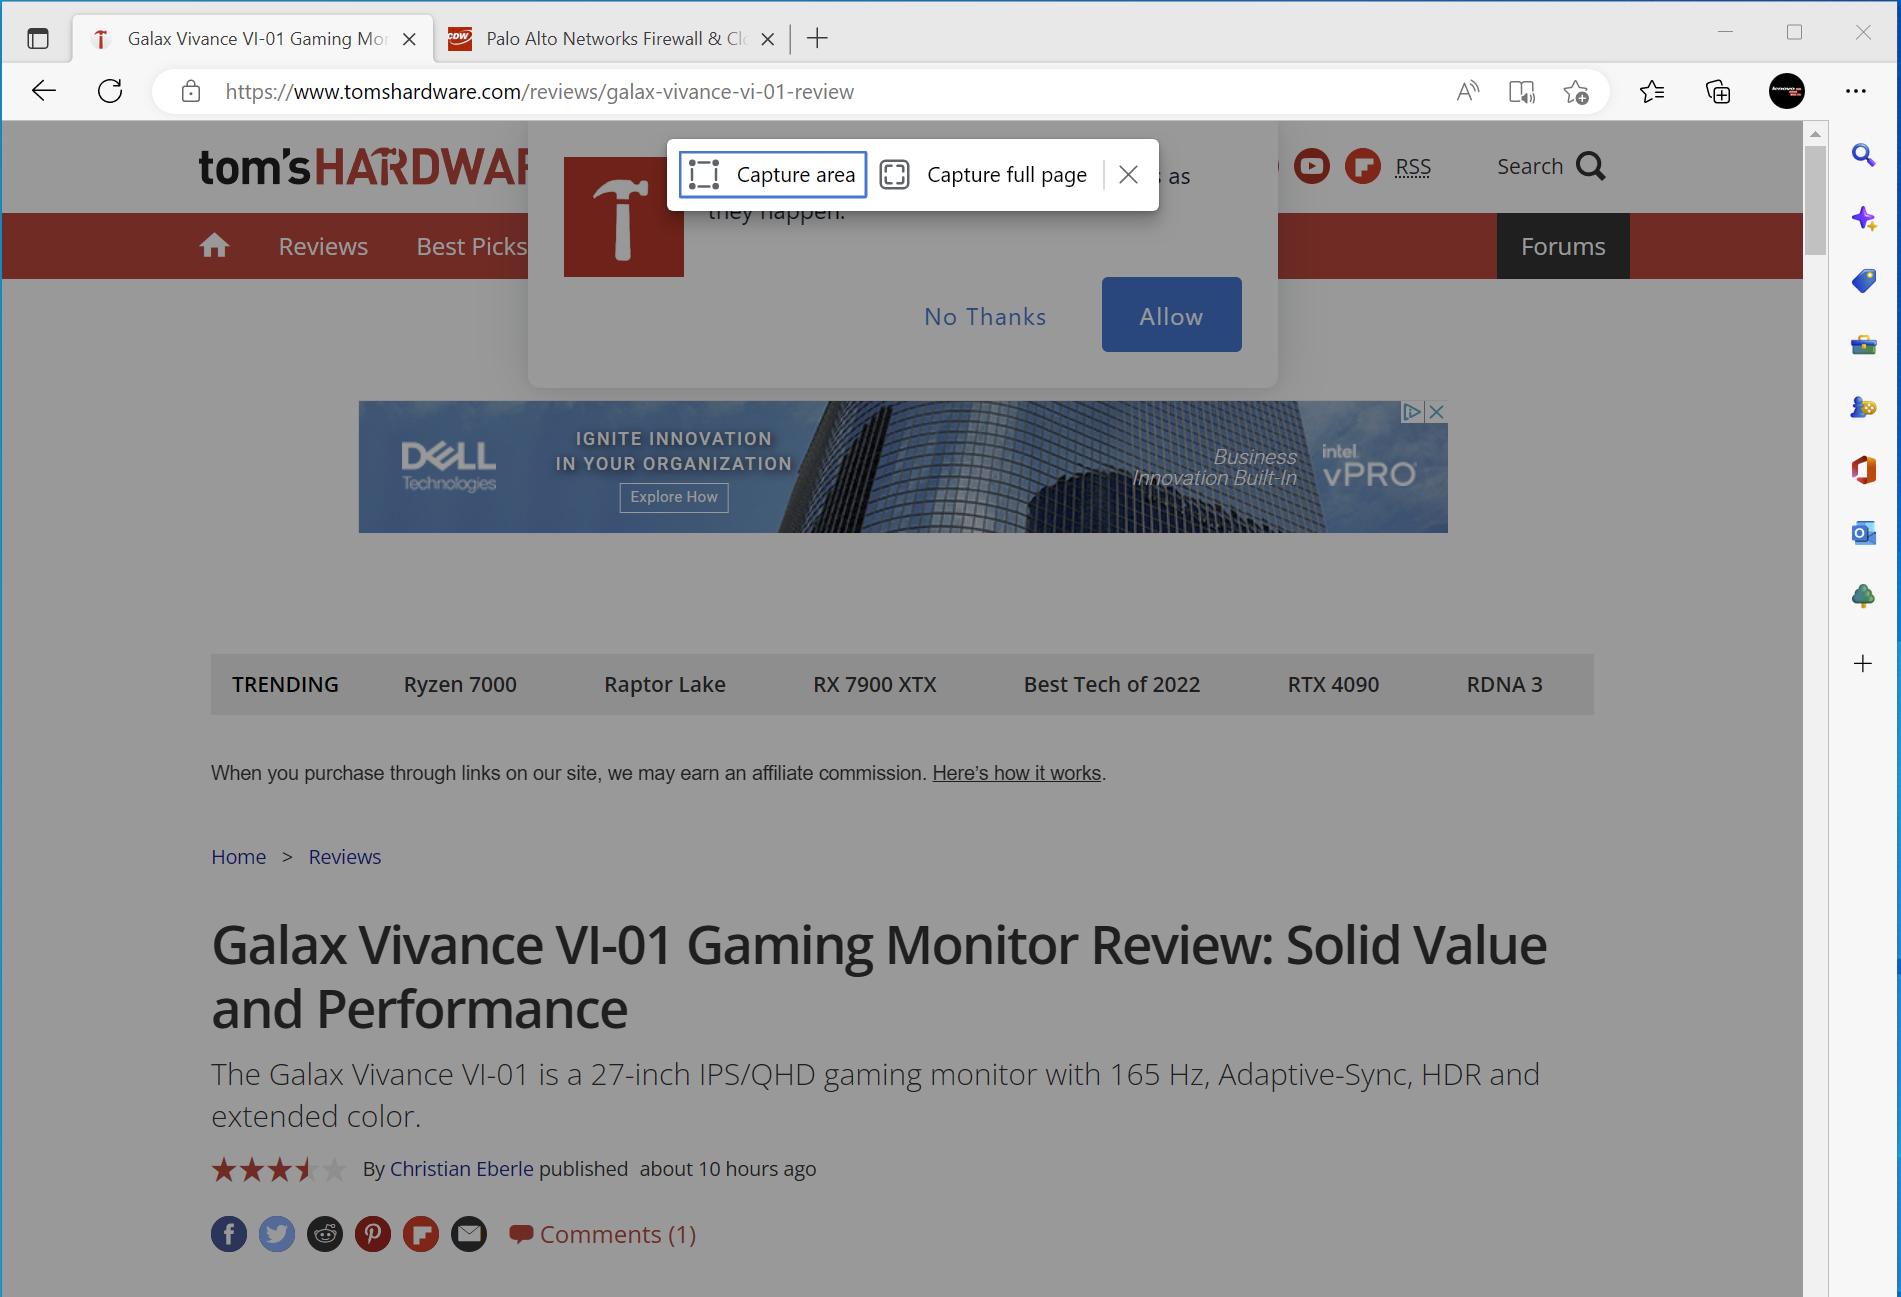
Microsoft Edge full page screenshot
In Microsoft Edge, press CTRL + Shift + S or from the hamburger menu[Web キャプチャ]is selected,[キャプチャ領域]or as needed[ページ全体をキャプチャ]A menu will appear from which you can select .
Chrome capture full page screenshot
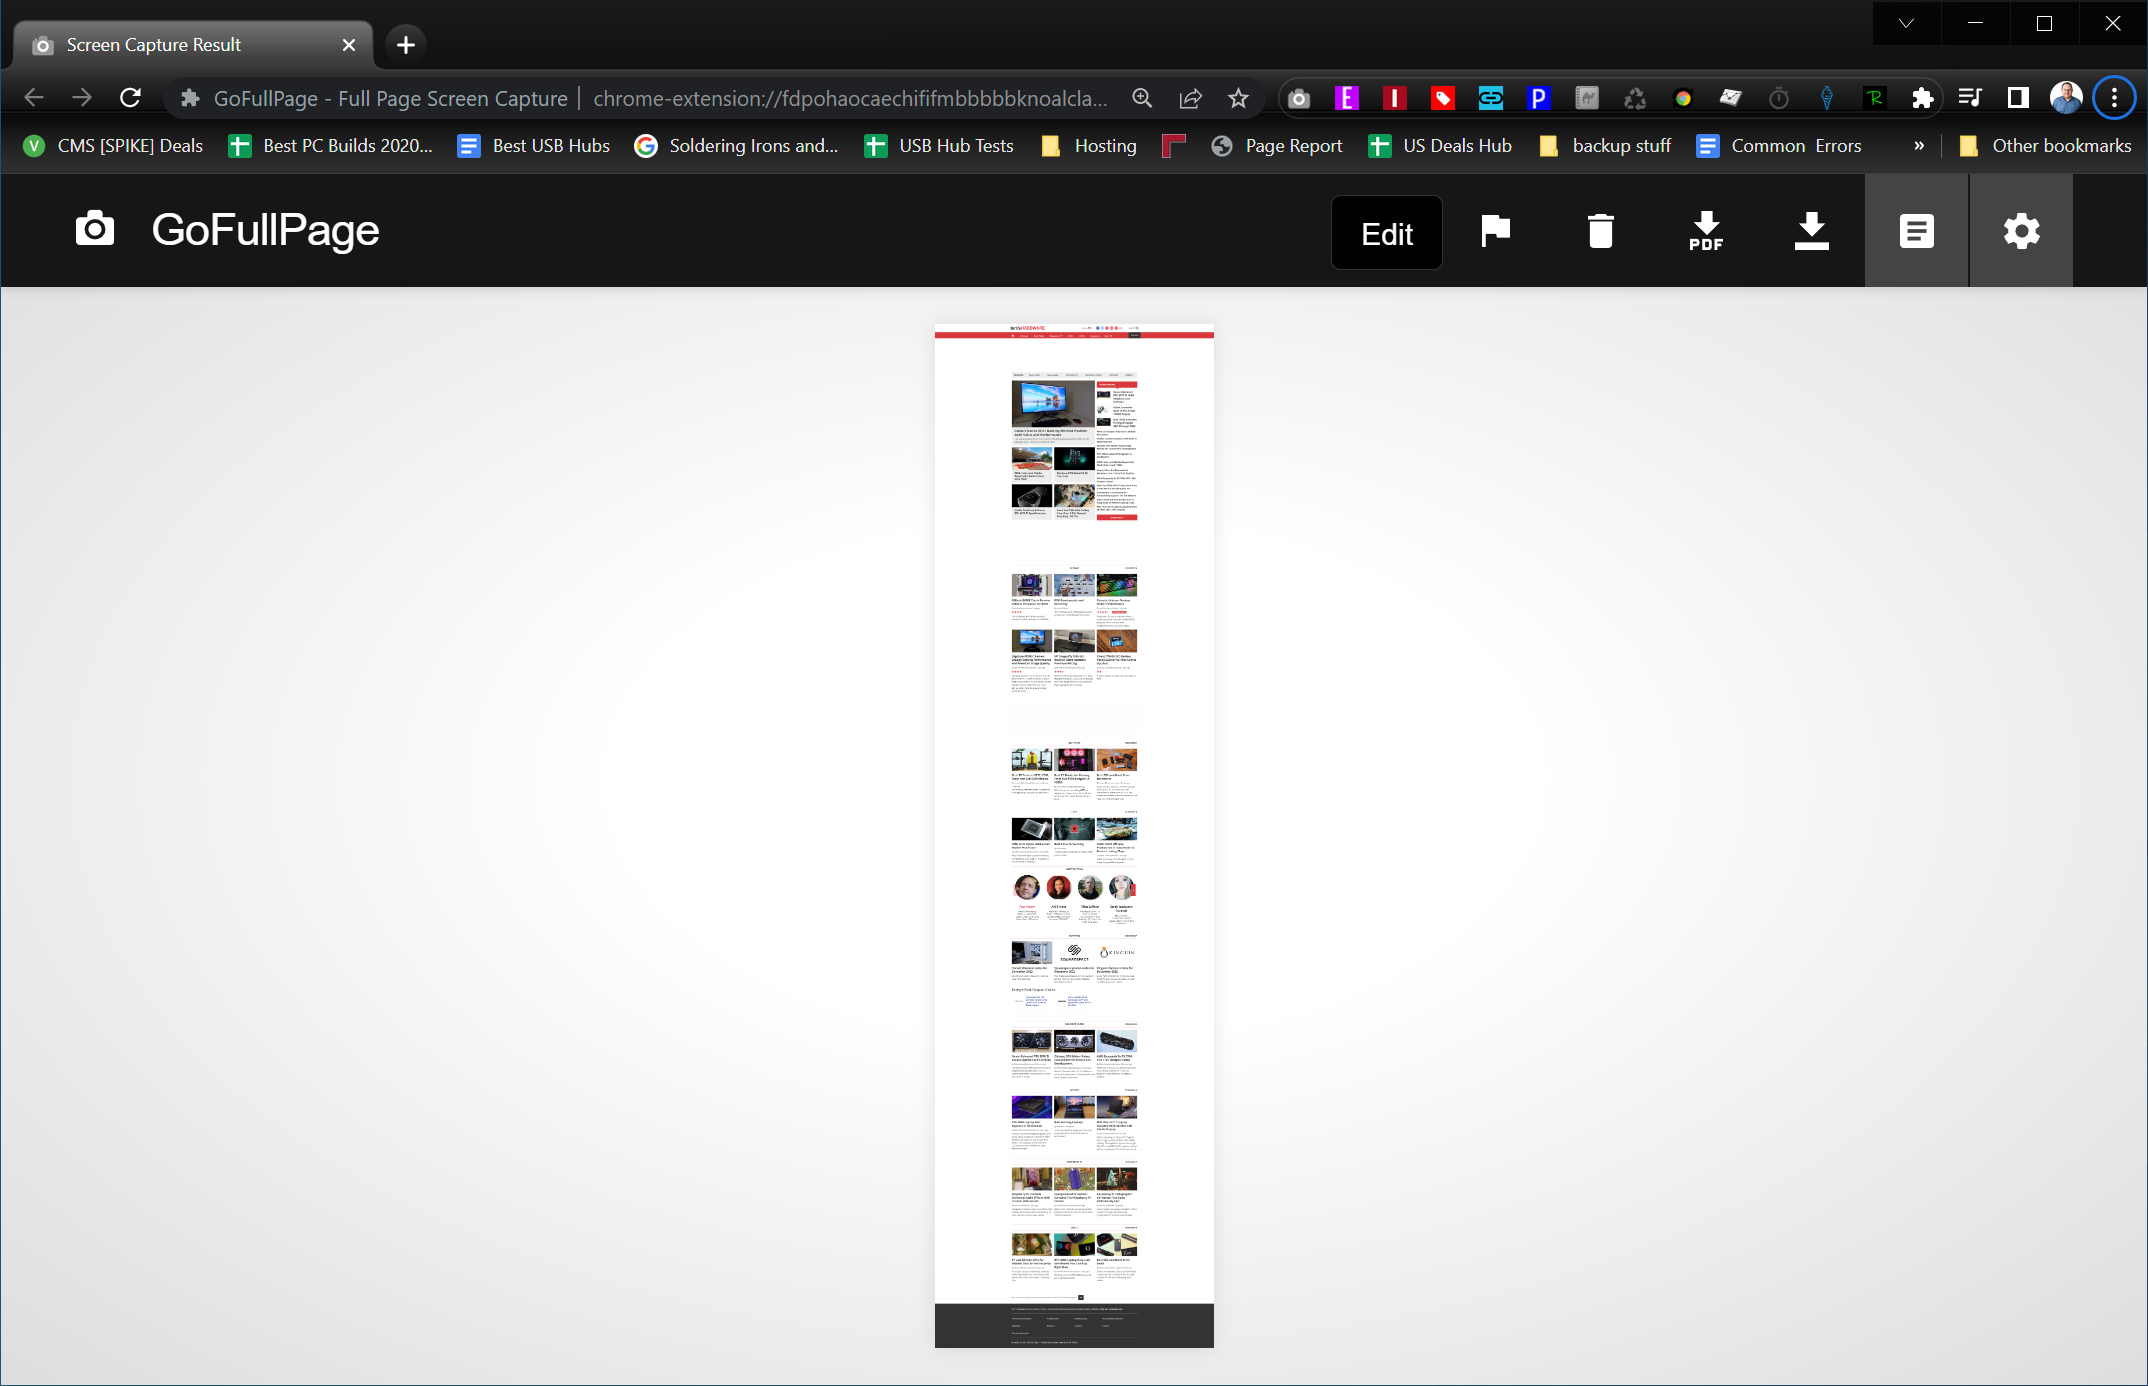
Chrome doesn’t have a good full-page screenshot feature. You can get a full page screenshot as a PDF by printing to PDF using the print function.Also, if you really hate extensions, use the developer console (CTRL+SHIFT+J) and from there[実行]using the command dialog[フル サイズのスクリーンショットをキャプチャ]can run. But it’s a lot of work.
The best solution for Chrome is to use an extension such as the free GoFullPage. Just click the camera icon in the toolbar and wait a few seconds for the extension to scroll down the page. You will then be given the option to save Chrome screenshots as PNG or PDF.
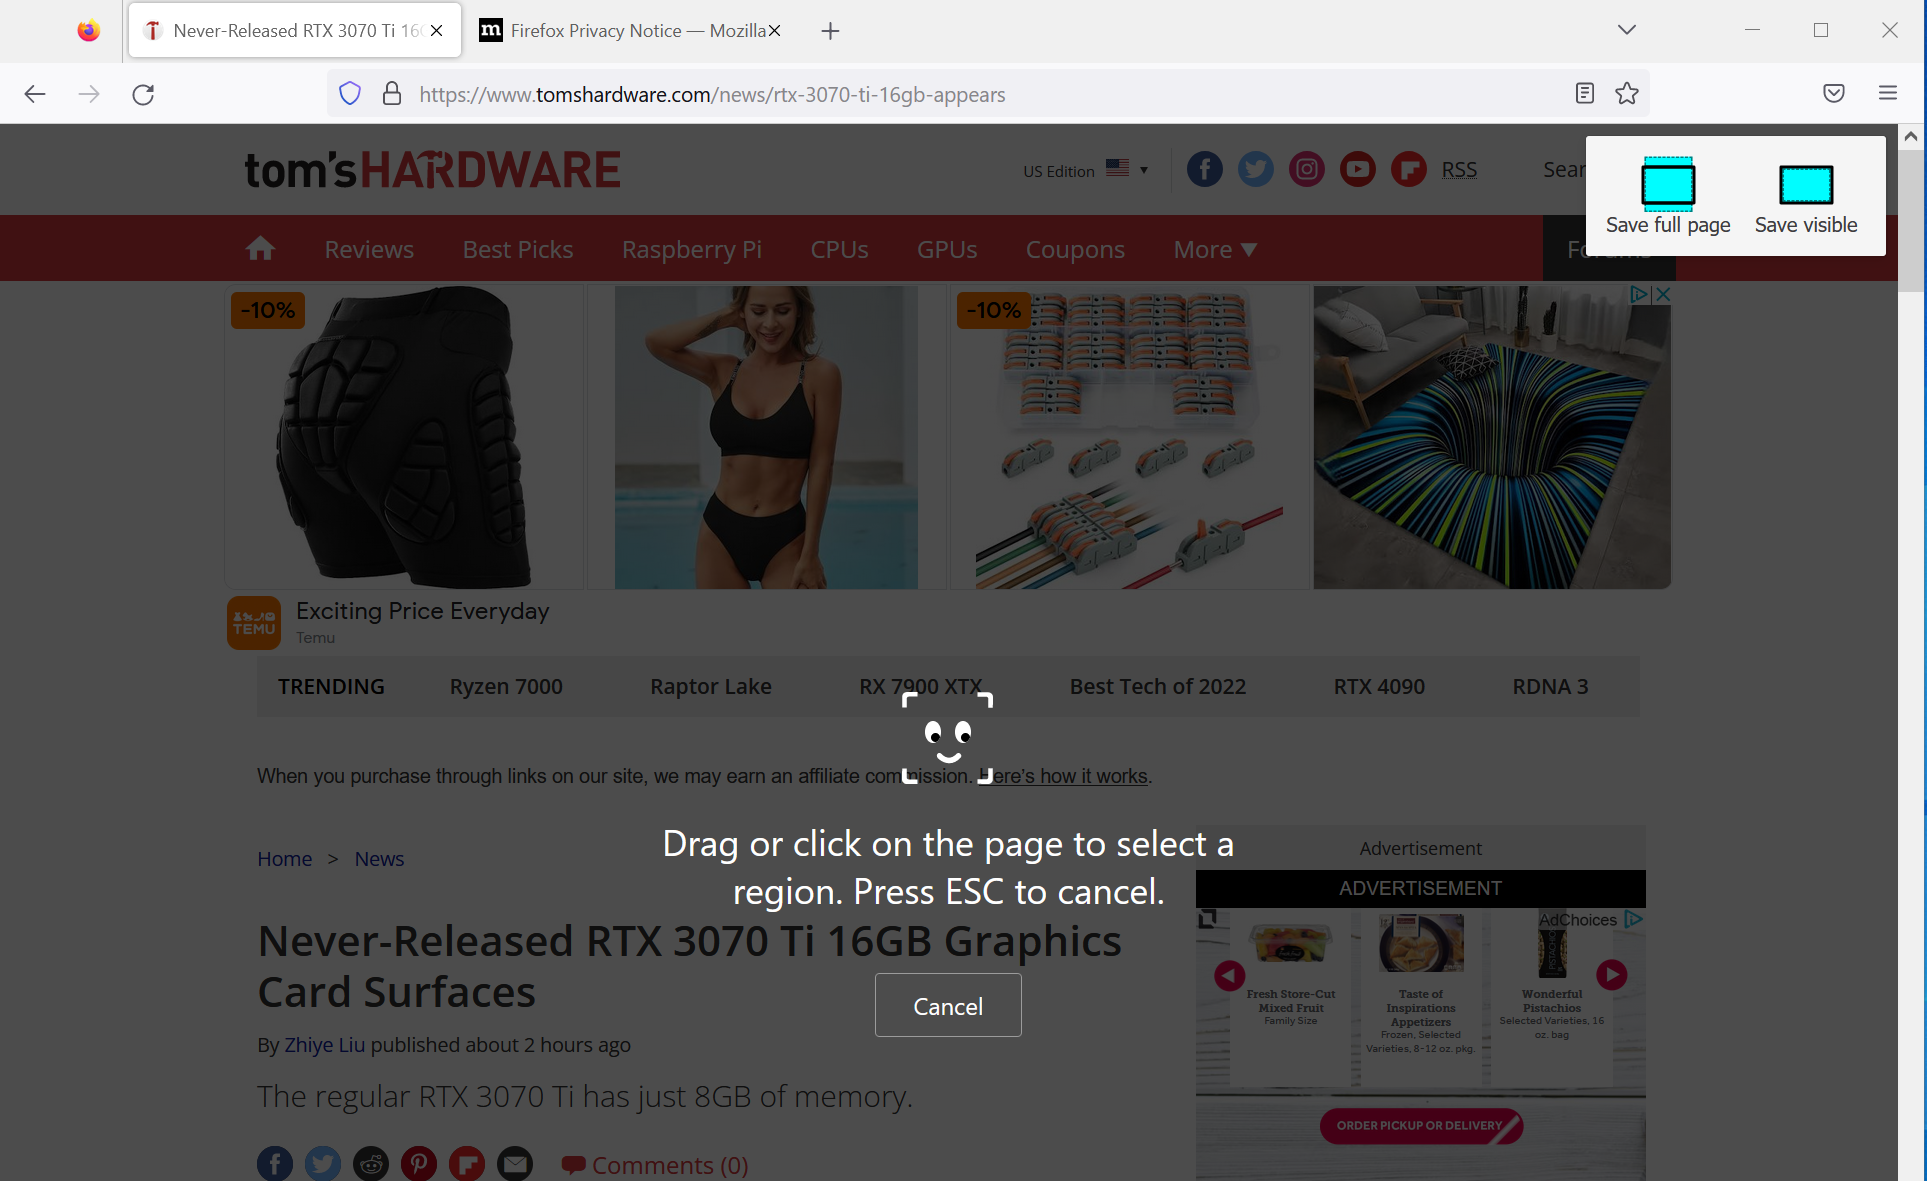
Firefox capture full page screenshot
Mozilla Firefox has a great built-in screenshot feature. All you need to do is right click Free space on web page Select take screenshot from the context menu.then click “Save entire page” Finally from the menu that appears Firefox will show you a preview of the captured image and you can choose to download it or copy it to the clipboard.
youtube video screenshot
While watching a video on YouTube, you may want to capture individual frames from that video. Of course, you can pause the video at the appropriate point, set the video to fullscreen and take a screenshot, but you can also use the play button, timeline or title of the video.
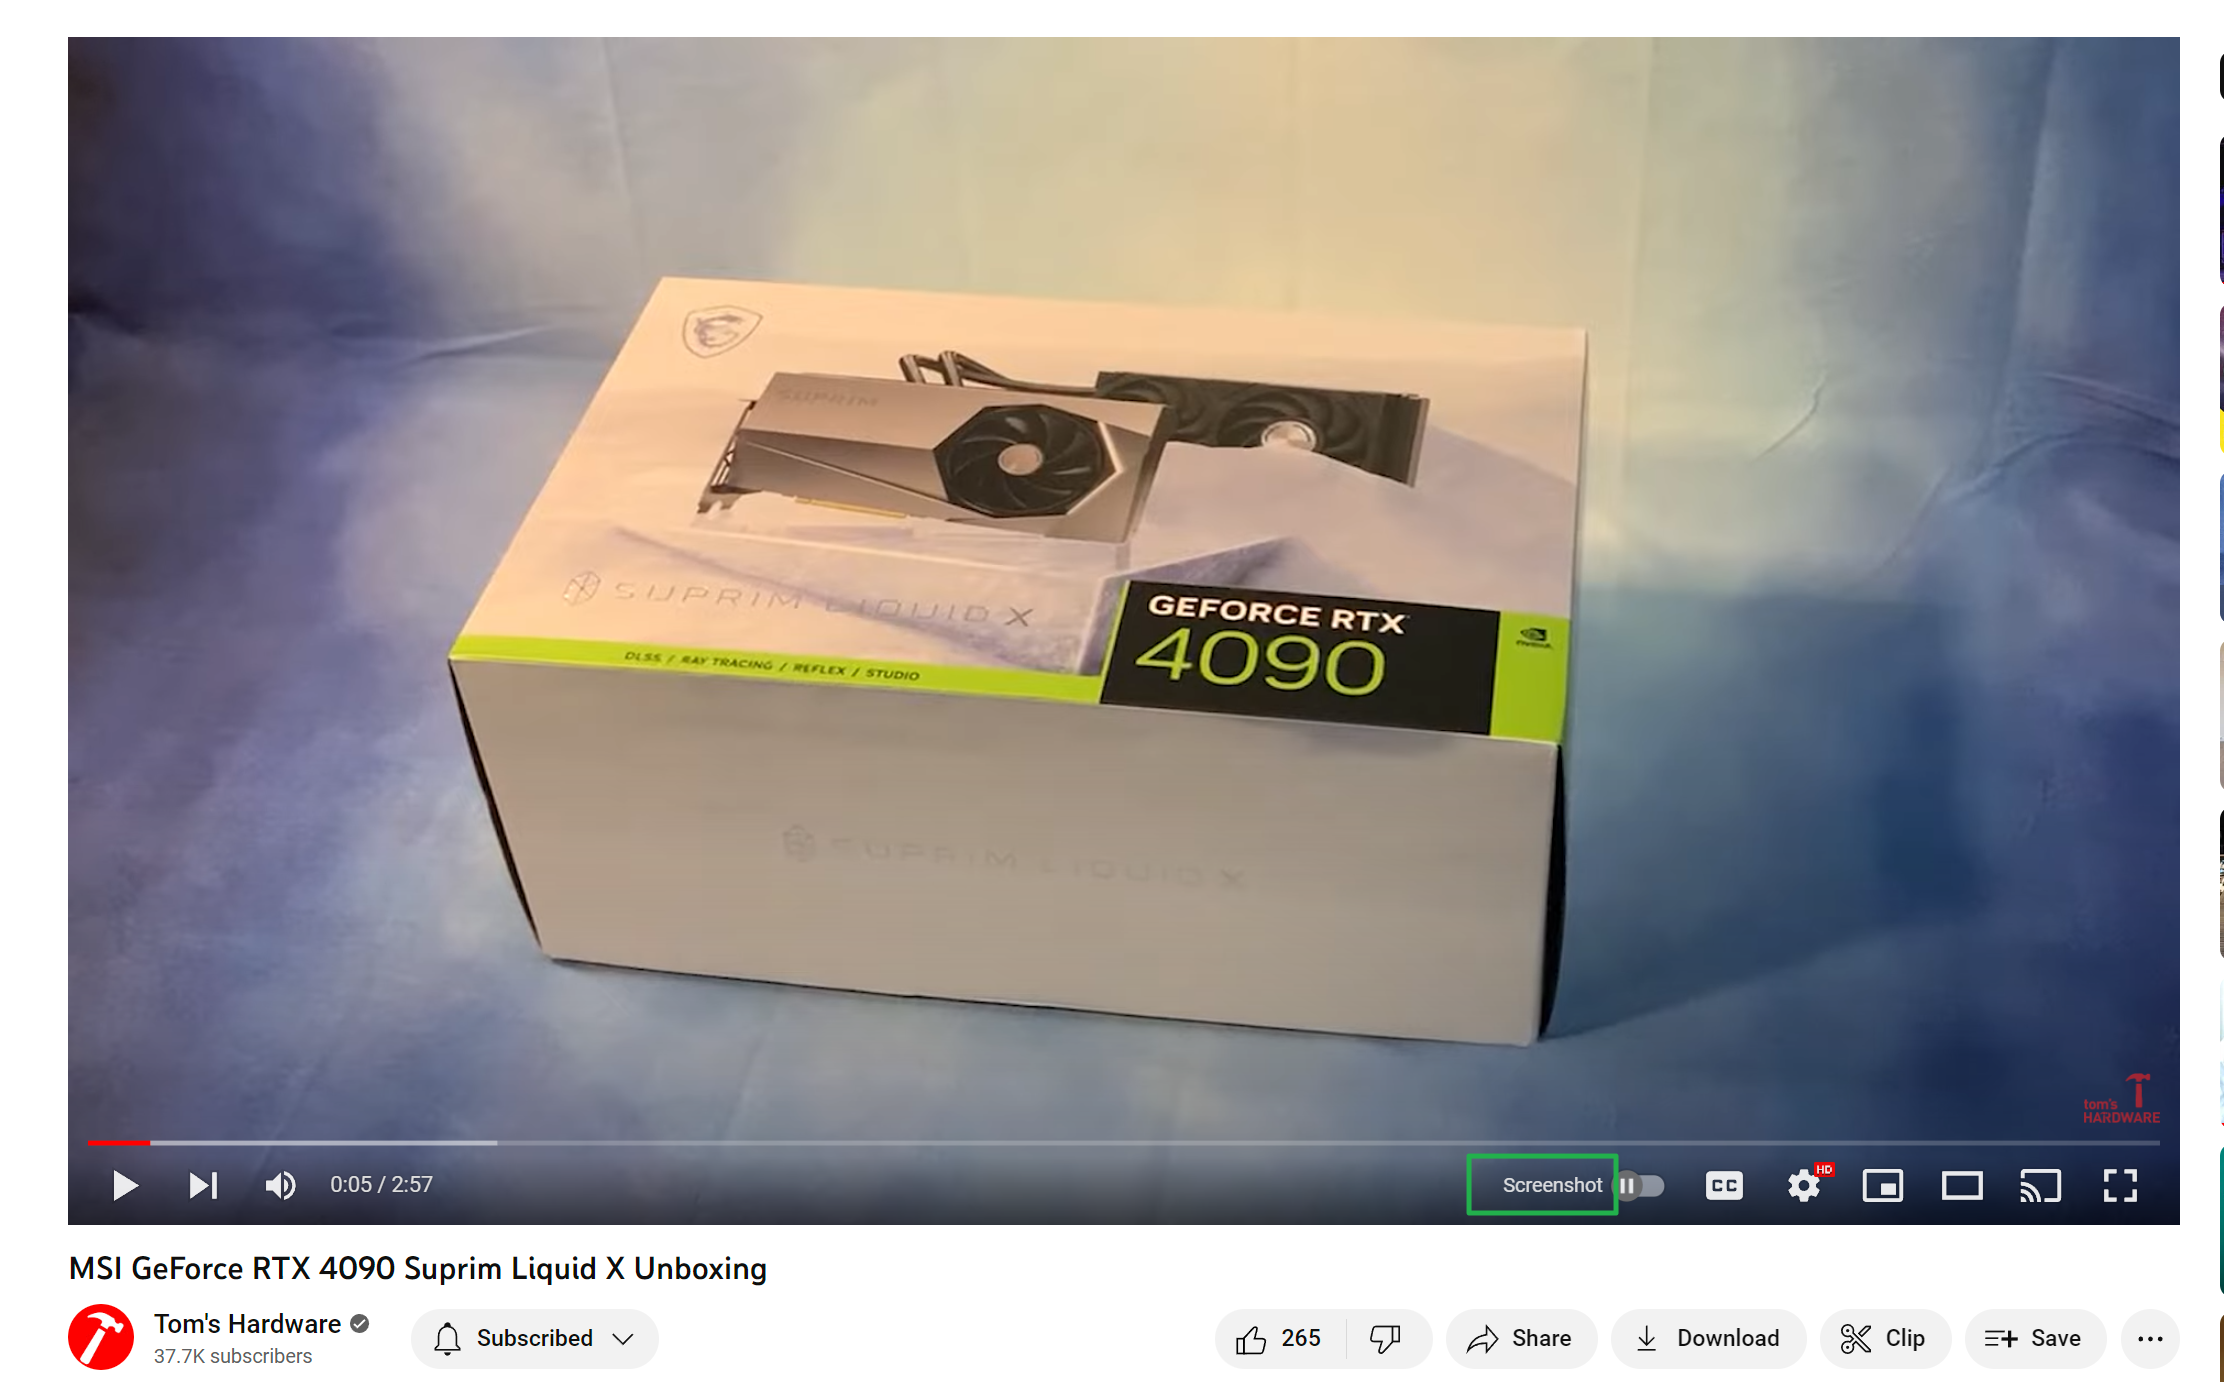
The best way to capture YouTube screenshots on Windows is with a browser extension that allows you to do so. The best extension for this purpose is Screenshot YouTube, Chrome Web Store (opens in new tab) and Edge Addons section (opens in new tab) Microsoft store too. Firefox has various add-ons for this purpose. YouTube screenshot button (opens in new tab).
Installing Screenshot YouTube adds a very subtle button called “Screenshot” just below the timeline.
Include pointer in screenshot
Most screenshot methods omit the mouse pointer itself. But what if you want to display it? Windows 10 and 11 don’t offer a really good way to capture pointers.
If you are really anti 3rd party software then you should search and Launch “Steps Recorder” and press the record button, execute the step you want, stop recording, then Enlarge screenshot Windows did that step (the pointer and everything) by clicking. However, the tool doesn’t provide an easy way to export, so you’ll have to take a screenshot of this one.
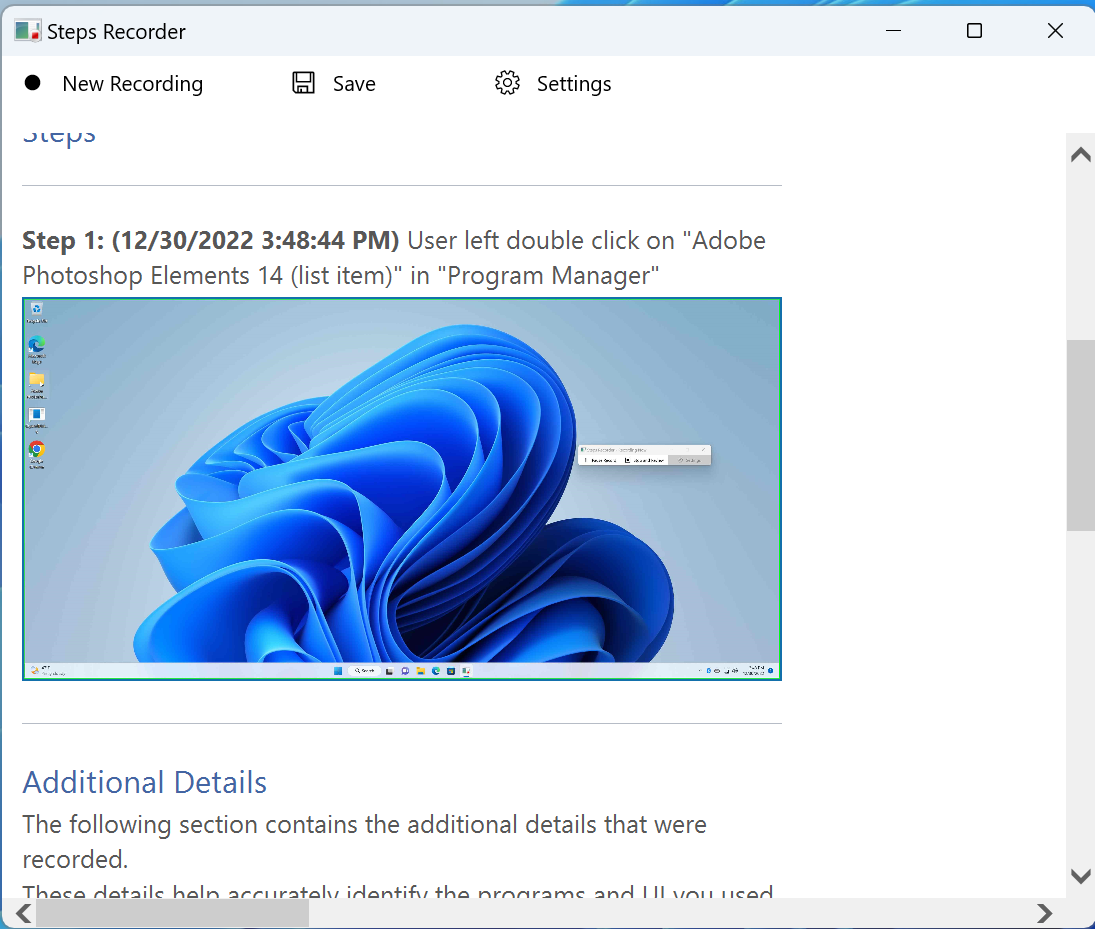
We recommend using a third-party tool such as PicPick, which has a built-in cursor capture option.
Use PicPick for the best experience
Recommended if you want the best possible screenshot tool. pick pick (opens in new tab)is a utility that is free for personal use and $24 for commercial use. PicPick has the ability to do scrolling screen captures (complete web pages or complete PDFs in PDF readers), include mouse pointers, and set custom delays all built-in.
To capture the entire web page content, click the PicPick tray icon,[スクリーン キャプチャ]->[ウィンドウのスクロール]or press CTRL + ALT + Print Screen (you can also assign a custom hotkey). Then select the web browser tab you want to capture and scroll across the page to see what it captures.
If you want to include the mouse pointer in the capture,[プログラム オプション]Open the menu and[キャプチャ]go to the tab[カーソル画像を含める]to turn on.
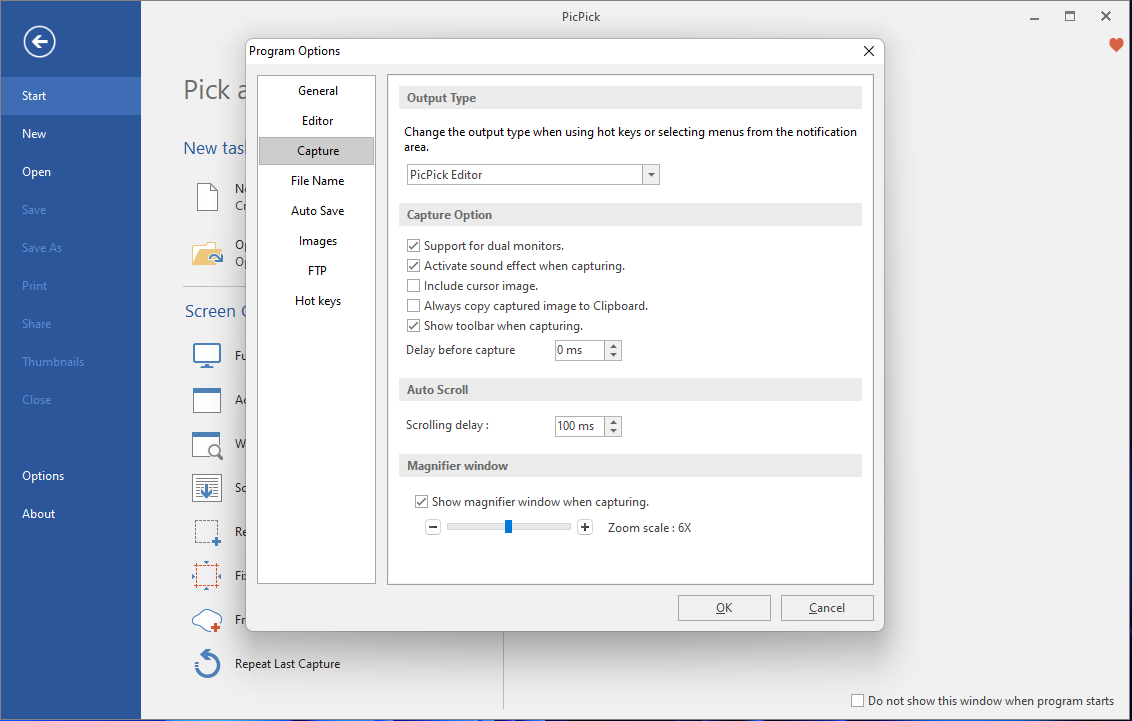
Another great thing about PicPick is that you can set your own custom hotkeys for every capture function. It also includes a much more robust editor than Snipper/Snip & Sketch, allowing you to draw colorful boxes and circles around areas of your image you want to emphasize.


